
Automated onboarding with Landing Page and Dataroom
1. Purpose
Enable fund managers to invite investors to their Anduin Landing Page and linked Anduin Data Room directly from Salesforce, in a single action—reducing manual data entry, minimizing errors, and saving time through automated workflows.
2. Key Benefits & Features
- Eliminate manual onboarding: send Landing Page and Data Room invitations instantly from within Salesforce.
- Seamless experience: automatically pass investor data from Salesforce to Anduin for a smooth invitation process. Landing Page access is resolved automatically wherever a Data Room group is linked to one.
3. Target Personas
- Valuable for any Anduin Data Room customer using Salesforce as their CRM
- Especially useful for GPs with institutional LP clients who want to invite investors via a Landing Page linked to their Data Room, for a more polished, branded onboarding experience
4. Prerequisites
4.1 Third-party app requirements (Salesforce)
- Connected app
- Understand the concept: Defines how external applications (like Anduin) connect to Salesforce, using OAuth. Includes client ID/secret, scopes, callback URLs, etc.
- Credentials: Customers must create a Connected App and provide the necessary credentials during setup.
- Permissions: Ensure the Connected App has the right scopes to allow the integration to access and send data.
- Session Limits: Salesforce allows only 5 active sessions per Connected App. If the limit is reached, the customer must create a new Connected App.
- Invoke flow
- Screen Flow: A point-and-click automation that guides users through predefined actions. Customers must build a screen flow to programmatically invoke Anduin's Landing Page + Data Room invitation flow. See the companion Screenflow Guide for a step-by-step build.
- Custom Button: A button in Salesforce UI that triggers the screen flow. Buttons + flows = clean, guided experience.
- Object preparation: Customers should prepare a consolidated object containing all the data intended for transmission to Anduin — this is the source of the investor contact info (email, first name, last name) used for the invitation.
4.2 Anduin app requirements
- IDM firm & Landing Page
- The user must have access to the IDM firm whose Landing Pages should be made available to this integration.
- The Landing Page must already be published and have a Data Room widget linked to the group(s) you intend to invite into — otherwise no Landing Page option will sync for that Data Room group.
- Data Room access — the user must either:
- Have admin access to the intended Data Rooms, or
- Know a team member with admin access who can grant the necessary permissions during setup
- Data Room group
- Customers must be informed that the necessary user groups need to be created in advance for this integration to function properly. During the integration flow, they will specify the Data Room and the corresponding group within that room to which users will be added. The integration will not work without these predefined groups.
- Customers should also be advised to use this automation with caution. Invitations should only be triggered once they are certain the selected group is correct. After this step, any investor added to that group will automatically inherit its assigned permissions. If unsure which group to choose, they can visit dataroom.anduin.app, open the Data Room, and review the detailed permissions for each group before proceeding.
5. Pre-Setup Checklist
| Task | Owner | Note | Anduin guide |
|---|---|---|---|
| Connected App — Understand the concept | Customer | ||
| Connected App — Create and retrieve credentials | Customer | Guided by Anduin to ensure correct inputs | See Guide |
| Connected App — Permissioning | Customer | Consulted by Anduin | See Guide |
| Connected App — Aware of limitation | Customer | Consulted by Anduin | Salesforce enforces a limit of 5 active sessions per Connected App |
| Salesforce screen flow | Customer | Consulted by Anduin | See Guide |
| Salesforce custom button | Customer | Consulted by Anduin | See Guide |
| Salesforce object preparation | Customer | Consulted by Anduin | A consolidated object containing all the data intended for transmission to Anduin |
| Data Room access | Customer | Consulted by Anduin | |
| Data Room group | Customer | Consulted by Anduin | Customers must first create the required user groups within their Data Rooms. Any investor invited through this automation automatically inherits that group's permissions. |
| IDM firm access | Customer | Consulted by Anduin | Needed to select the firm whose Landing Pages this integration can access |
| Landing Page + widget linkage | Customer | Consulted by Anduin | Landing Page must be published and have a Data Room widget linked to the target group(s) |
6. Step-By-Step Rollout Guide
6.1 Grant access to the Integration Hub
- Customers need to contact their Implementation Manager to ensure they have access to the Integration Hub and this specific integration.
6.2 Locate the solution
- In the Browse tab of the Integration Hub, the customer can locate the Salesforce (Invite to Landing Page and Dataroom) solution under the CRM category.
6.3 Install the solution
- Step 1: Click Install to begin setup.
- Step 2: Name the Integration
- Recommend a clear and descriptive name (e.g., "Salesforce integration - Dataroom Alpha" or "By John Smith")
- Click Next: Link to Anduin objects
- Step 3: Grant integration permission to your IDM firm
- Step 3.1: A list of accessible Anduin firms will appear
- Step 3.2: Click Open next to the relevant firm
- Step 3.3: In the permission module, find the integration name and click Add
- Step 3.4: Return to the Integration Hub — the firm should now show a "Linked" tag
If the target firm is not listed, there are 2 options:
- Customer needs to be added with admin role for that firm, then return to step 3.2. Customer should be able to see the target firm there.
- Customer requests their team member who has admin role in that firm to perform step 3.3 using Settings > Integrations in IDM and they can continue with step 3.4.
- Step 4: Grant integration permission to customer's intended objects (Data Rooms)
- Step 4.1: A list of accessible Anduin objects (e.g., Data Rooms) will appear
- Step 4.2: Click Open next to the relevant Data Room
- Step 4.3: In the permission module, find the integration name and click Add
- Step 4.4: Return to the Integration Hub — the Data Room should now show a "Linked" tag
If the target Data Room is not listed, there are 2 options:
- Customer needs to be added with admin role for that Data Room, then return to step 4.2. Customer should be able to see the target Data Room there.
- Customer requests their team member who has admin role in that Data Room to perform step 4.3 using Settings > Integrations in the Dataroom app and they can continue with step 4.4.
6.4 Configure the solution
The configuration wizard has 4 steps shown in the left-hand navigation:
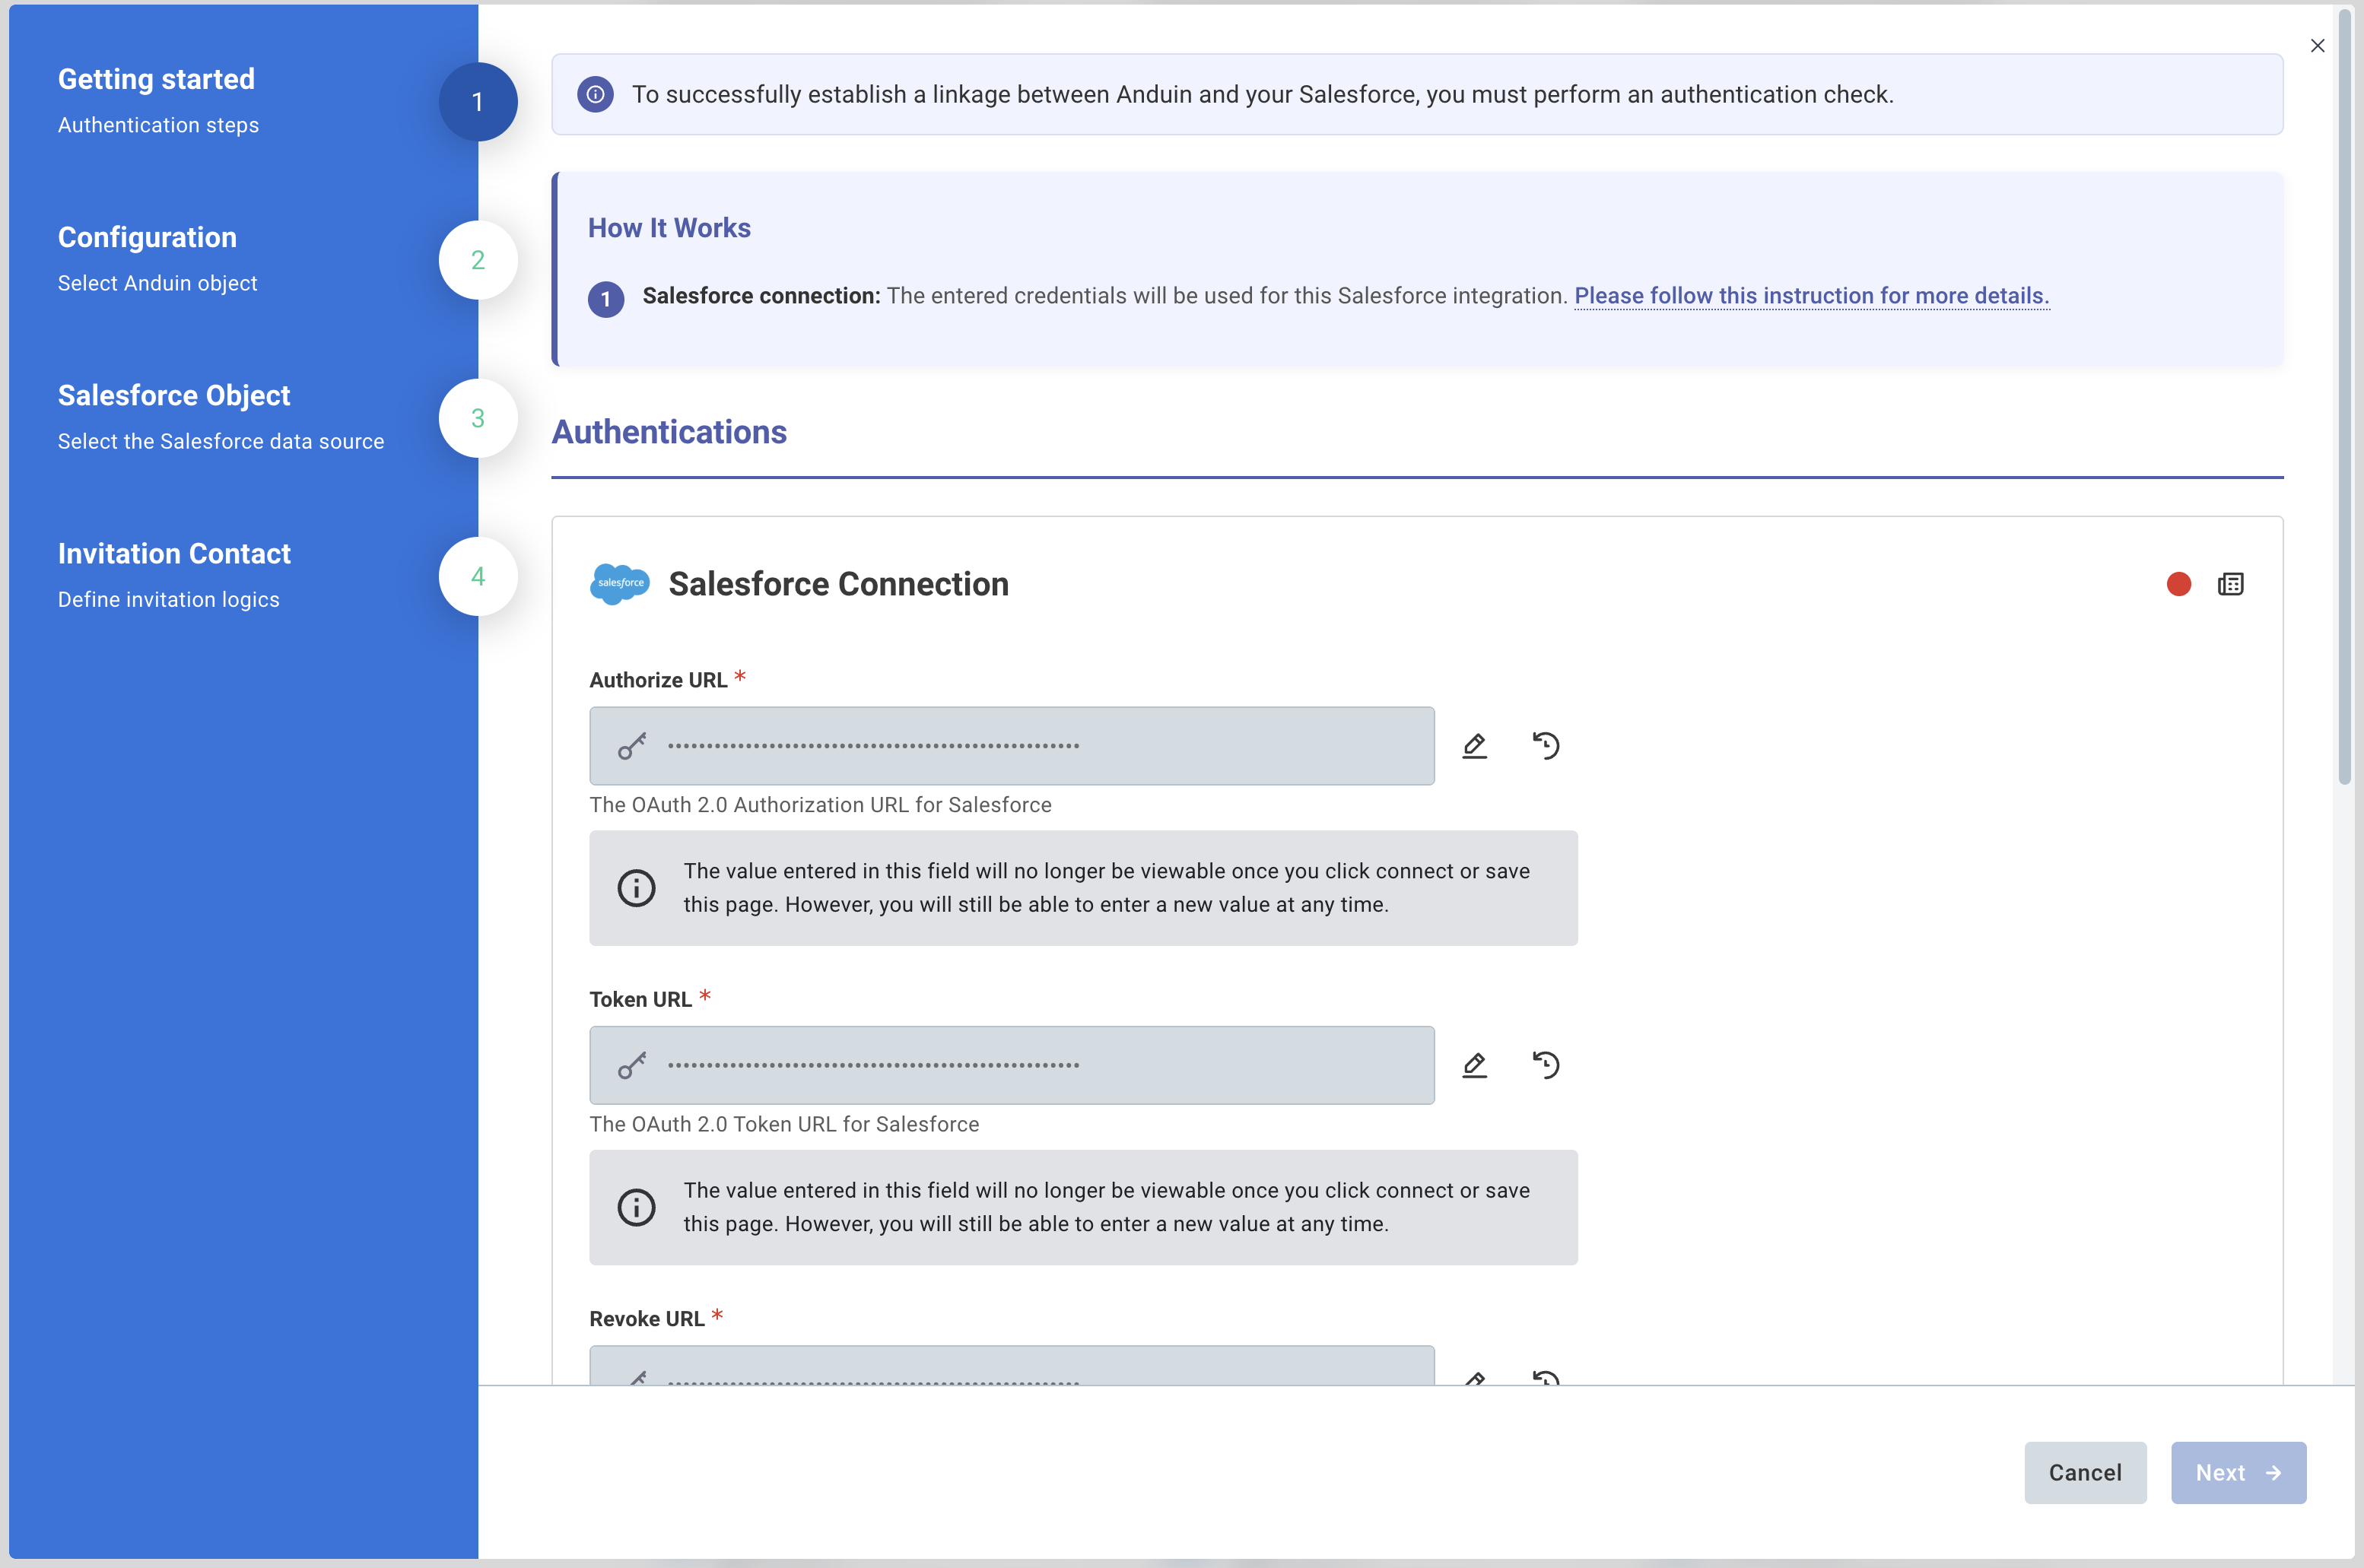
Step 1 — Getting started: Authentications
To connect Salesforce, enter credentials that will be used for this Salesforce integration. Please follow this instruction for more details.
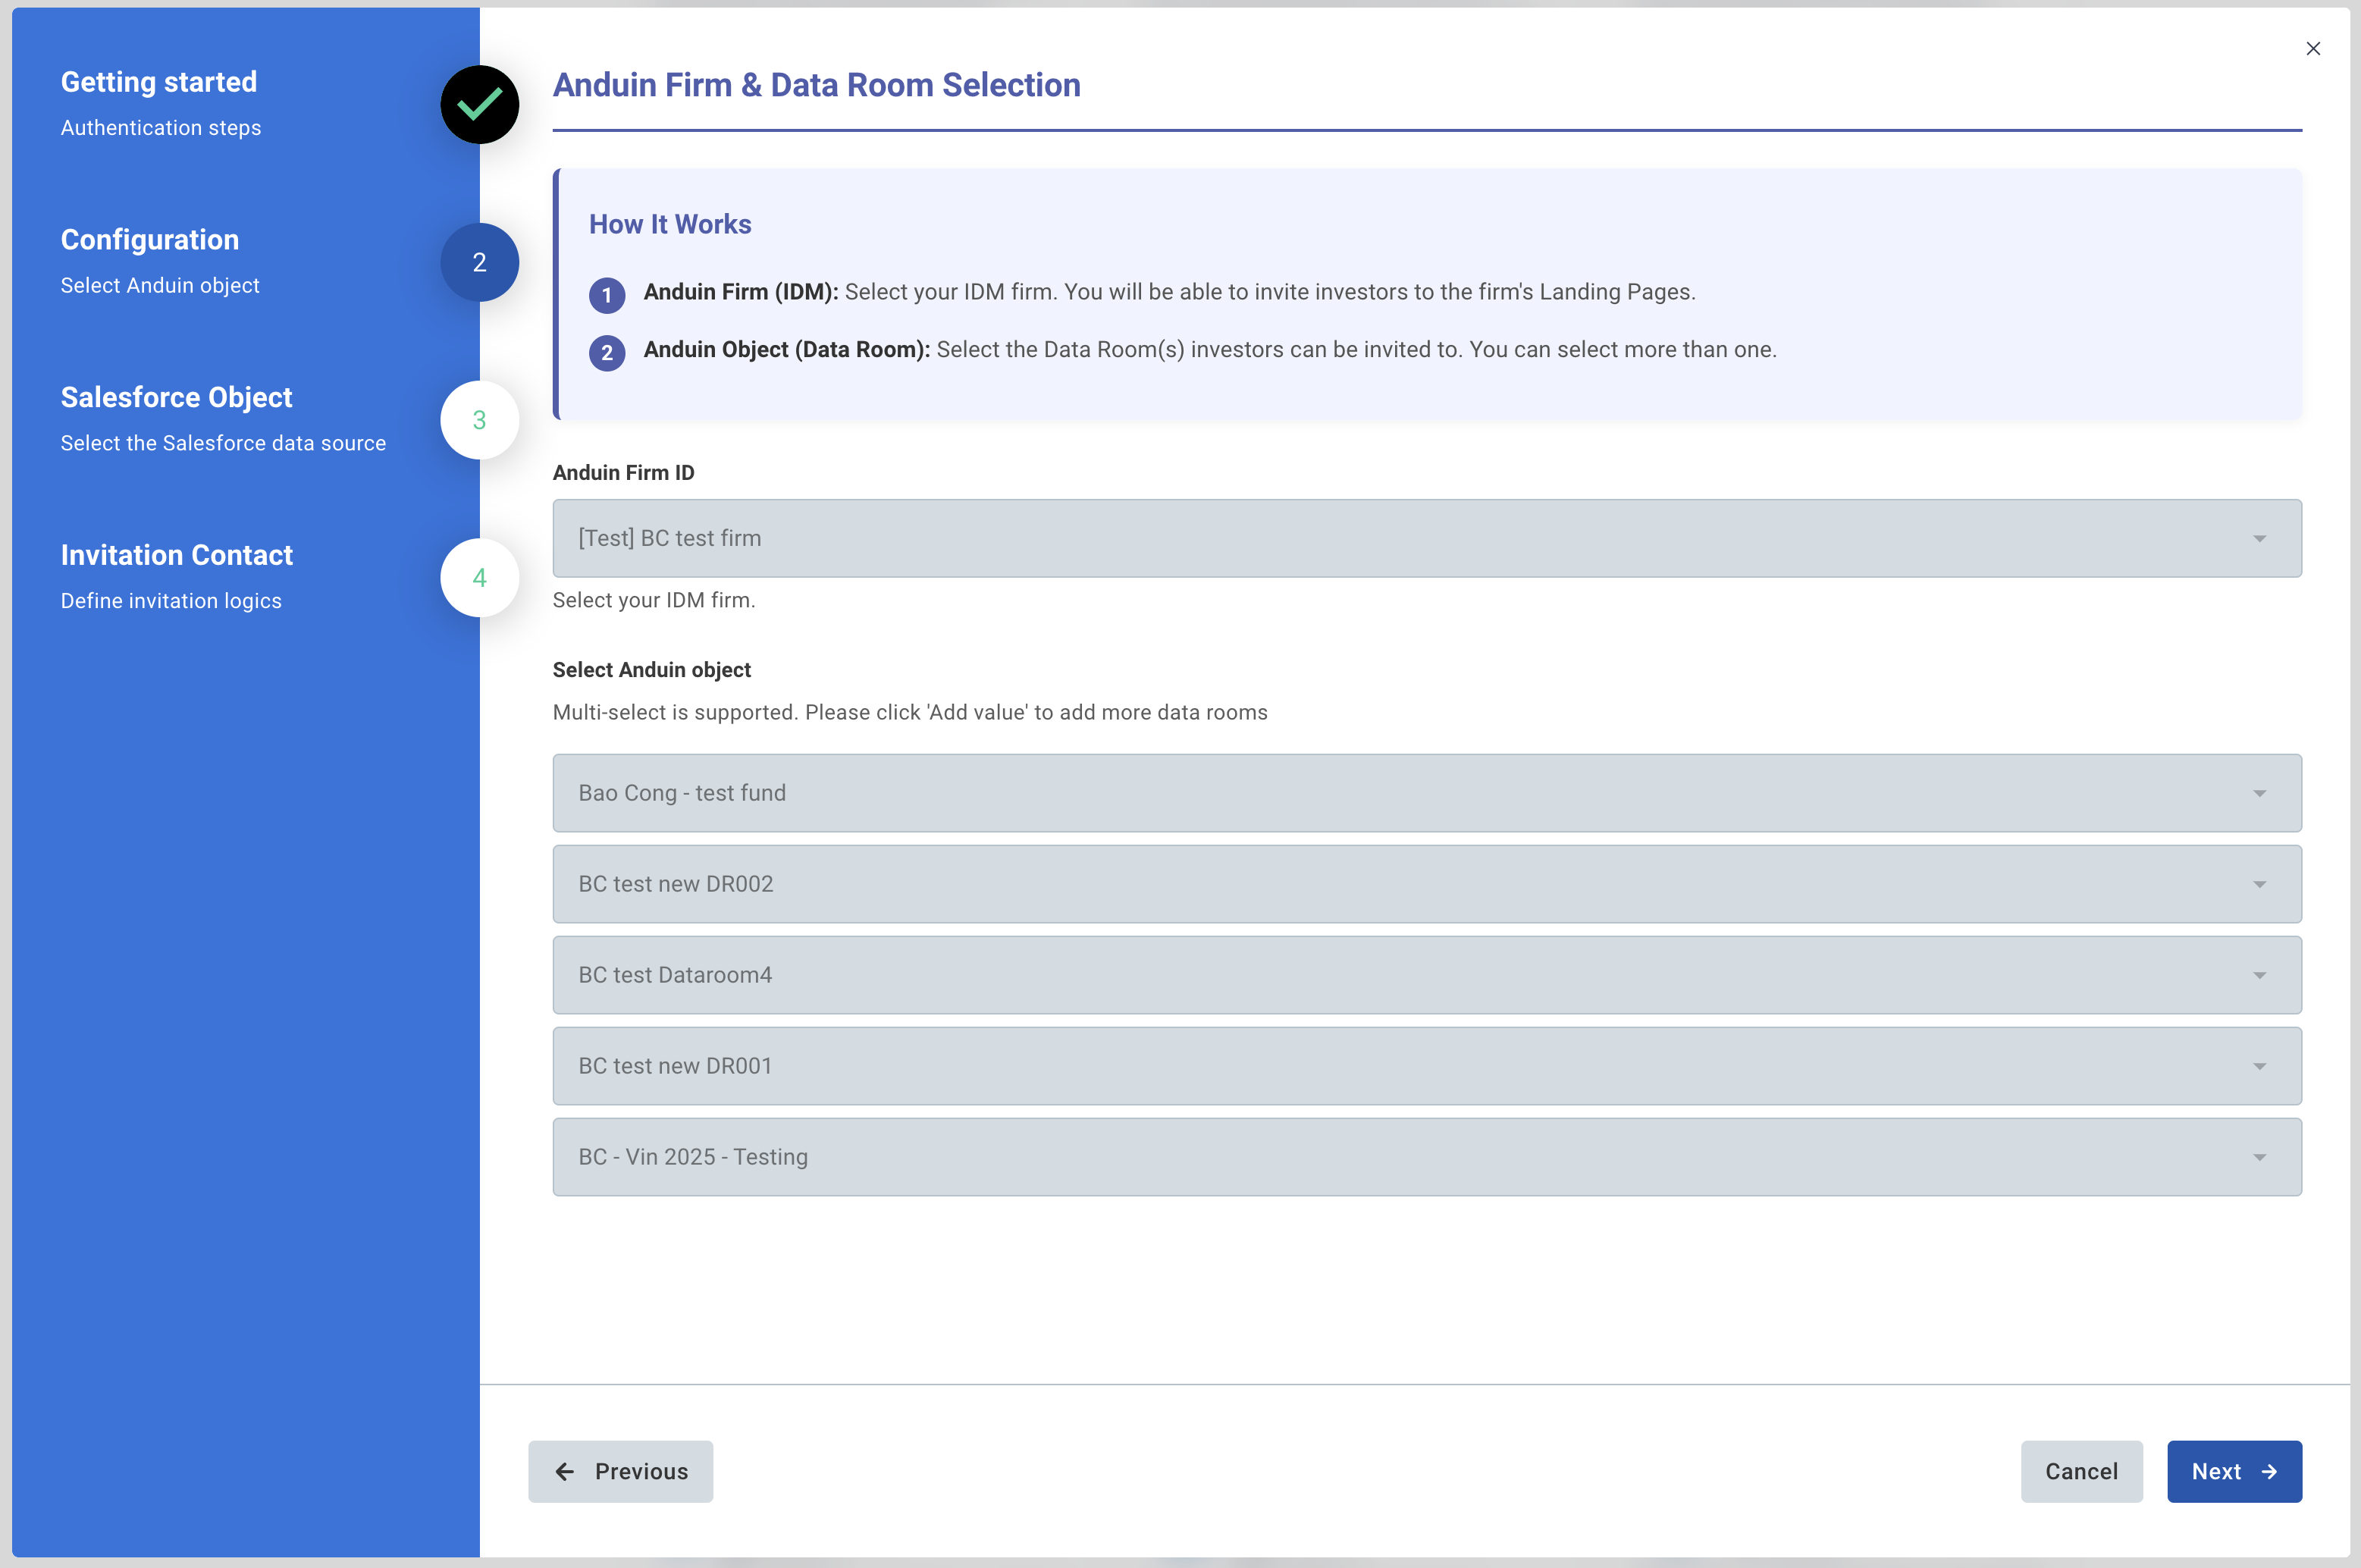
Step 2 — Select Anduin Firm & Data Rooms
- Firm (IDM): Select your IDM firm. You will be able to invite investors to any of its Landing Pages.
- Data Room(s): You will be able to invite investors from your Salesforce to any of the below configured Data Rooms.
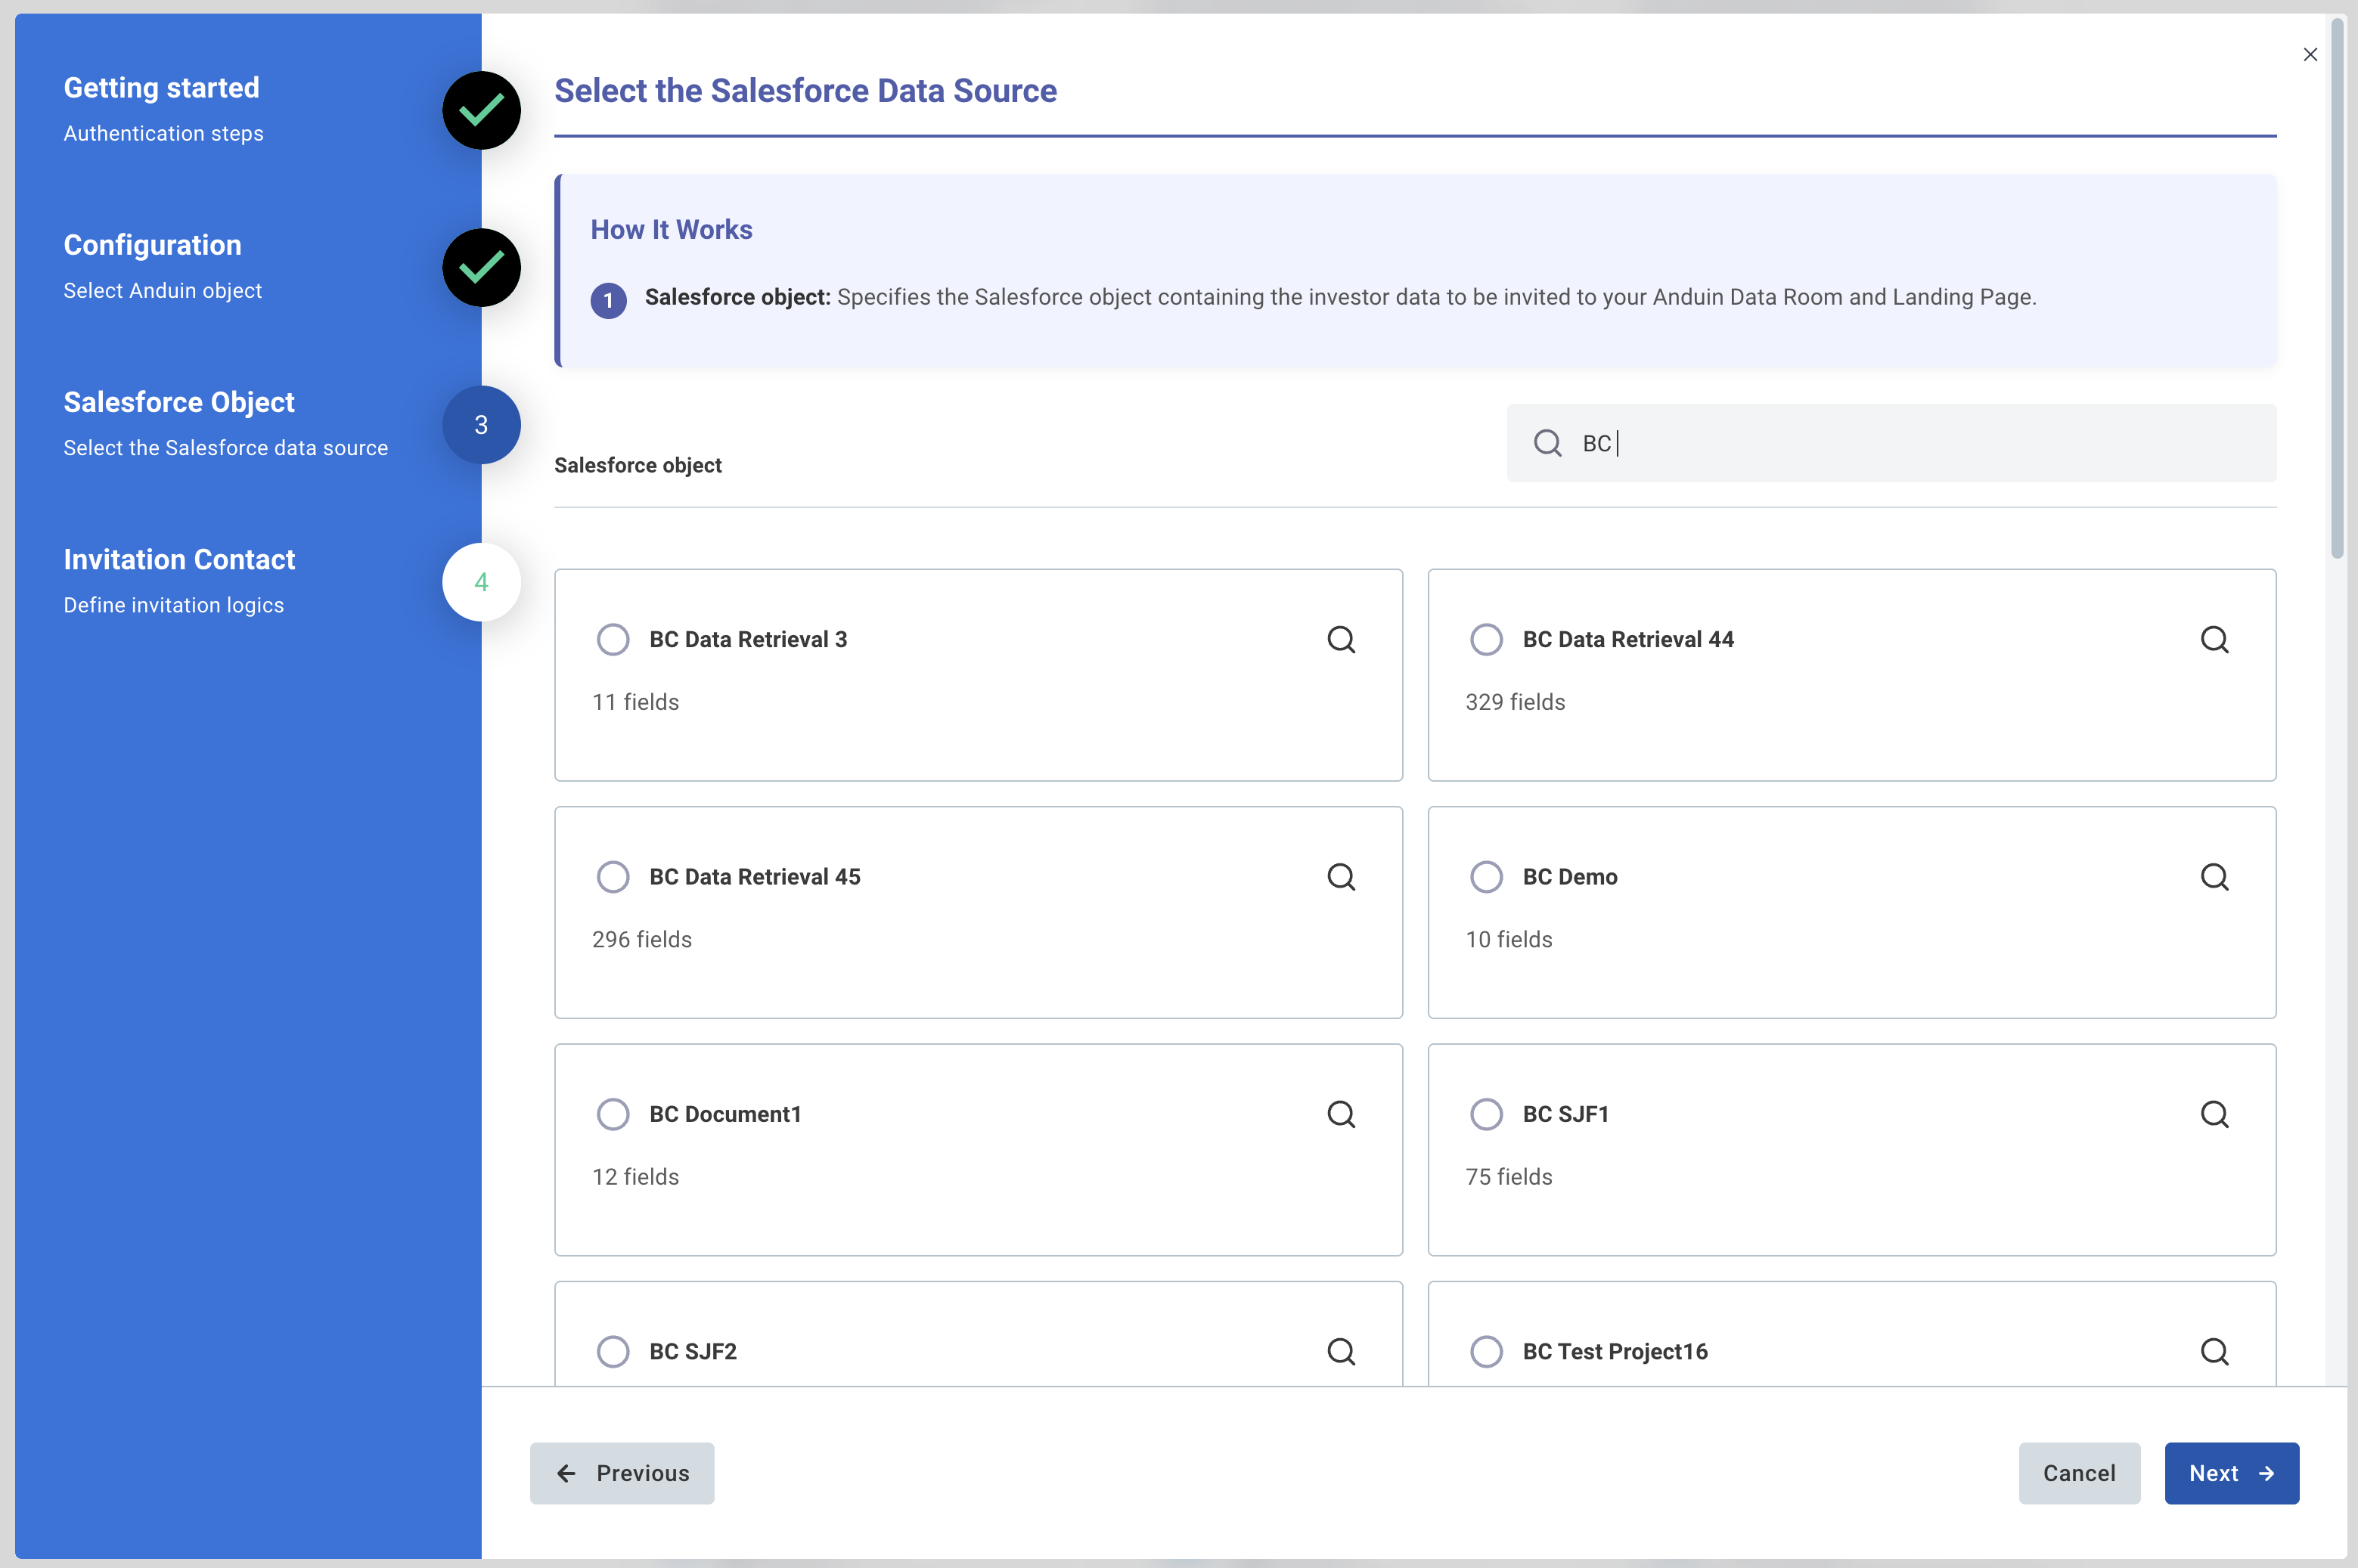
Step 3 — Select the Salesforce Data Source
Select the Salesforce object you prepared in the Prerequisites step — the one holding your investor data. This tells the integration where to pull each investor's record from when your team triggers an invitation.
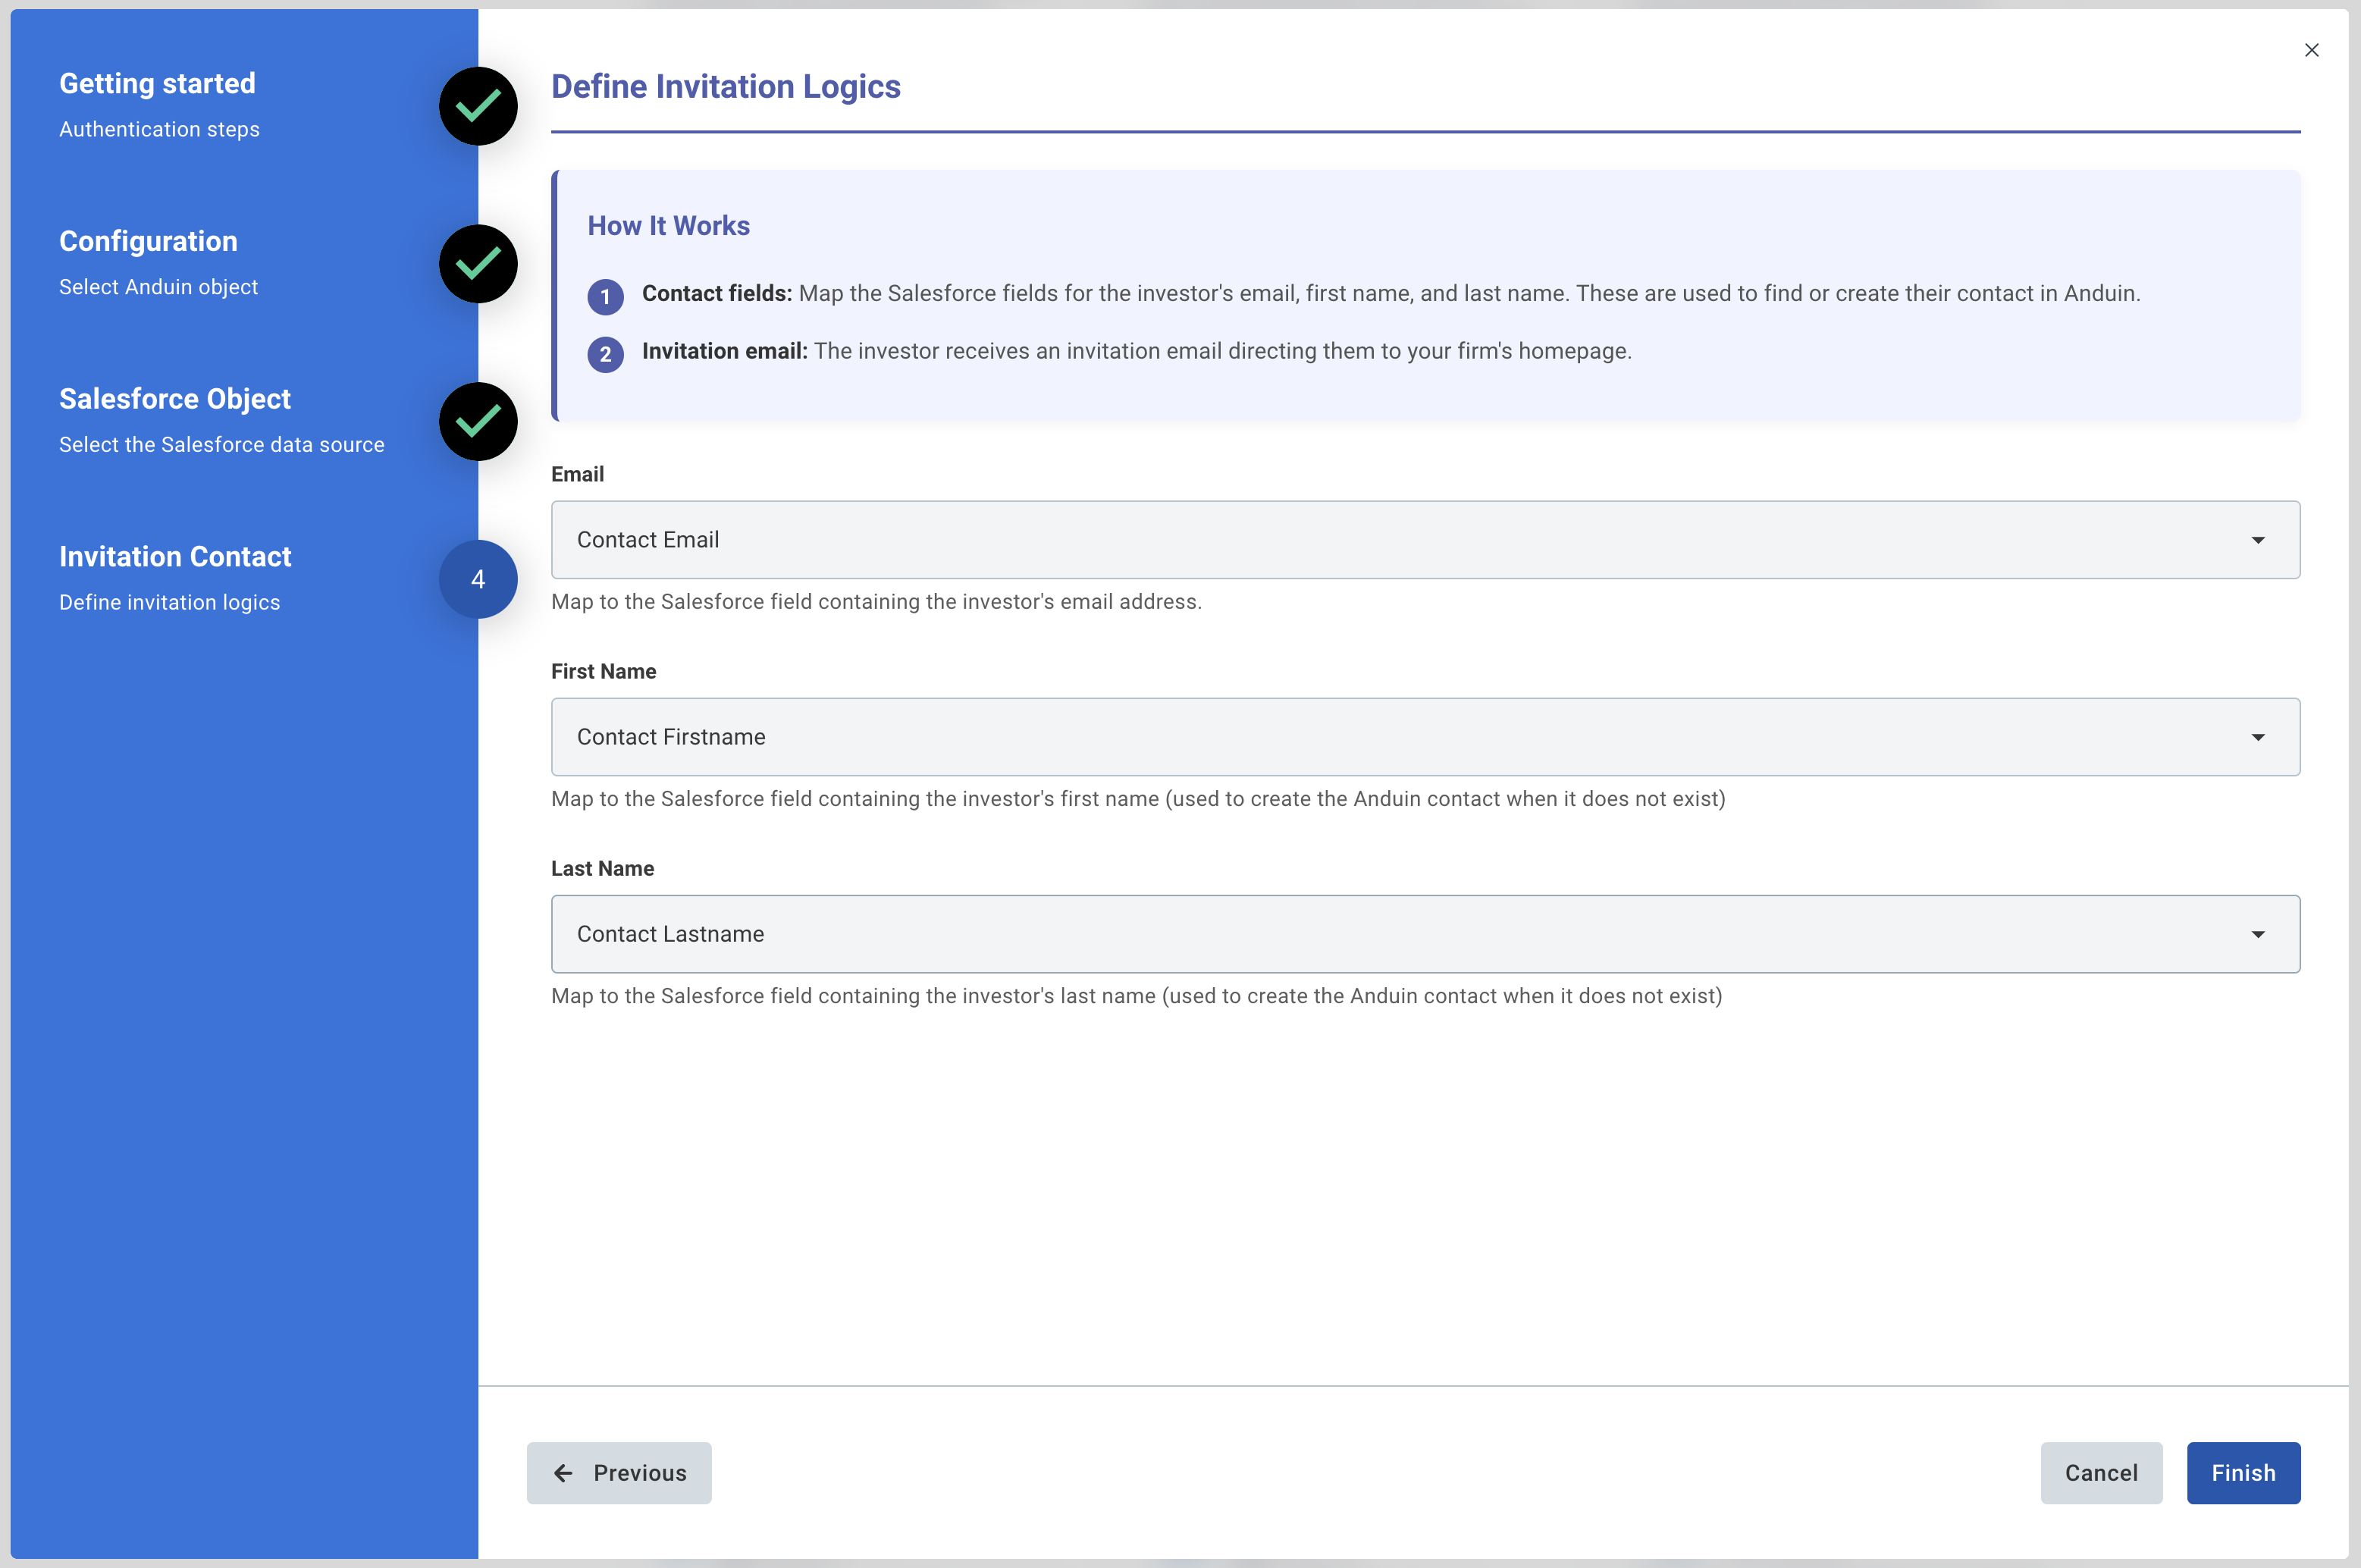
Step 4 — Define Invitation Logics
- Contact fields: Map the Salesforce fields for the investor's email, first name, and last name. These are used to find or create their contact in Anduin.
- Invitation email: The investor receives an invitation email directing them to your firm's homepage.
6.5 Validate the solution
Once configuration is complete:
- The customer should trigger the Salesforce screen flow via the custom button they previously created.
- This will initiate the integration, resulting in:
- The investor is invited to the chosen Landing Page, Data Room, and Data Room group
- An investor invitation email being sent, directing the investor to the firm's homepage
If the automation works end-to-end, the setup is successfully validated.
Updated 2 months ago