Prepare Snowflake credentials
In order to retrieve required credentials, please follow the below steps
Oauth method
-
Sign in to Snowflake
-
Perform below step detail to connect Snowflake to Anduin:
- a. Create new worksheet , then run the code below. You can rename the
INTEGRATION_DEMOto what you want. The pre_authorized_roles_list specifies which role can be used for this integration. You can read our detailed guide on role & permission to decide which values to enter here.create security integration INTEGRATION_DEMO type = oauth oauth_client = custom oauth_client_type = 'public' oauth_redirect_uri = 'https://oauth2.integration-platform.anduin.app/callback' /// please use 'https://oauth2.integration-platform.eu.anduin.app/callback' for EU server enabled = true pre_authorized_roles_list = ( 'USERADMIN','SYSADMIN') oauth_issue_refresh_tokens = true oauth_refresh_token_validity = 864000 - b. Then run below and use Authorize URL, Token URL and Client ID for the config
DESCRIBE INTEGRATION INTEGRATION_DEMO - c. Run this code to get Client Secret to finish the config
SELECT SYSTEM$SHOW_OAUTH_CLIENT_SECRETS('INTEGRATION_DEMO') - d. Get Snowflake Identifier URL by the code below and replace the result to
<identifier-result>to finish urlhttps://<identifier-result>.snowflakecomputing.com
SELECT CURRENT_ORGANIZATION_NAME() || '-' || CURRENT_ACCOUNT_NAME();- e. Get Snowflake Account Locator, using the prefix from Authorize URL

- a. Create new worksheet , then run the code below. You can rename the
-
Create warehouse, database
- a. Create warehouse SQL
CREATE WAREHOUSE ANDUIN_WH WITH WAREHOUSE_SIZE = 'X-SMALL' AUTO_SUSPEND = 300 AUTO_RESUME = TRUE INITIALLY_SUSPENDED = TRUE; - b. Create database SQL
CREATE DATABASE IDM_DB; - c. Input
ANDUIN_WHto Warehouse andIDM_DBto Database in the configuration wizard
- a. Create warehouse SQL
Key pair authentication method
-
Generate a private–public key pair using your Terminal.
- a. Open your Terminal and run below commands
openssl genrsa 2048 | openssl pkcs8 -topk8 -inform PEM -out rsa_key.p8openssl genrsa 2048 | openssl pkcs8 -topk8 -v2 des3 -inform PEM -out rsa_key.p8- b. Input Passphrase to generate the private key. Store Passphrase to user it later
- c. Run this command to view the private key, copy all the key to use later
cat rsa_key.p8 // You will observe the private key shows up in the following format -----BEGIN ENCRYPTED PRIVATE KEY----- MIIFJD... -----END ENCRYPTED PRIVATE KEY------ d. Generate public key
openssl rsa -in rsa_key.p8 -pubout -out rsa_key.pub- e. Run this command to view the public key, copy the key to use later
cat rsa_key.pub //


You will observe the public key shows up in the following format
-----BEGIN PUBLIC KEY-----
MIIBIjANB...
-----END PUBLIC KEY-----
-
Register the public key and associate it with a user in Snowflake.
- a. Assign the public key to a user, RSA_PUBLIC_KEY will input the public key above but remove the header and footer -----BEGIN PUBLIC KEY----- and -----END PUBLIC KEY----- . Replace example_user with the username you want to assign the key to
ALTER USER example_user SET RSA_PUBLIC_KEY='MIIBIjANB...';- b. Execute the following command to retrieve the user’s public key fingerprint
DESC USER example_user; SELECT SUBSTR((SELECT "value" FROM TABLE(RESULT_SCAN(LAST_QUERY_ID())) WHERE "property" = 'RSA_PUBLIC_KEY_FP'), LEN('SHA256:') + 1);- c. Observe the output

- d. Open terminal again and run this command to to retrieve the user’s public key fingerprint
openssl rsa -pubin -in rsa_key.pub -outform DER | openssl dgst -sha256 -binary | openssl enc -base64- e. Observe the output

- f. Compare both outputs. If both outputs match, the user correctly configured their public key.
-
Note down private key and other Snowflake info for integration configuration
-
Note your private and public key
-
Obtain other Snowflake credential data
-
Snowflake username: User that you assign the key to (must be in upper case)
-
Account Identifier and Account Locator
-
Open your Snowflake
-
Select avatar icon in the left-bottom corner, click
Connect a tool to Snowflakethen open theAccount detailstable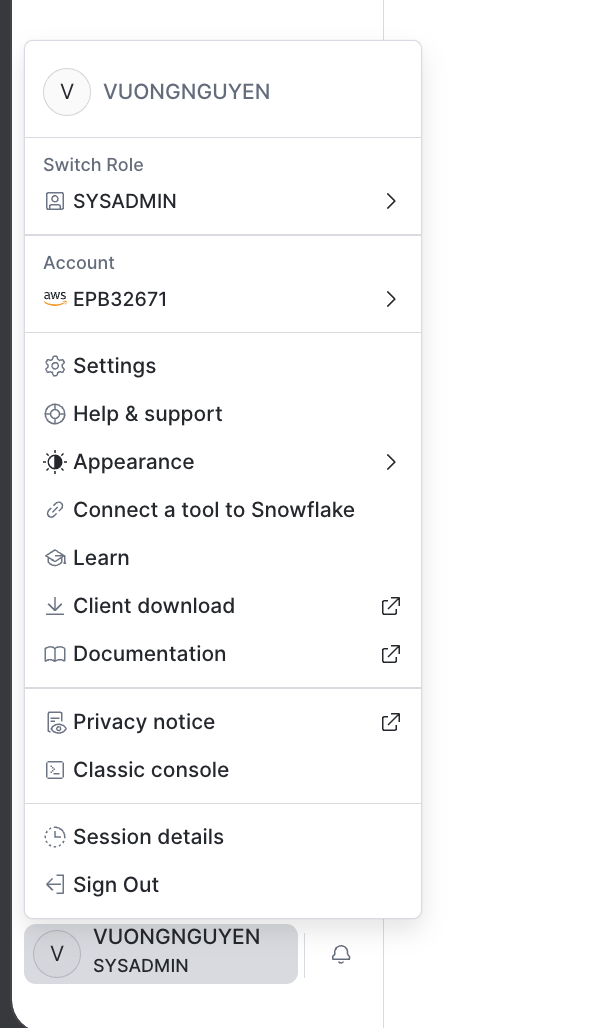
-
-
Passphrase (in step 1b above)
-
-
Updated 12 days ago
Did this page help you?