Set up your first instance
Overview
This document will walk you through all steps to set up your very first instance in our Integration Hub
- Get access to the Integration Hub
- Grant permission and install your integration
- Configure your integration
- Run and monitor your instance
Integration overview
As a Fund Manager, it’s essential to stay on top of every critical step in the investor onboarding journey. This tutorial will show you how to receive notifications of investor progress directly in your business Gmail account.
Let's set up
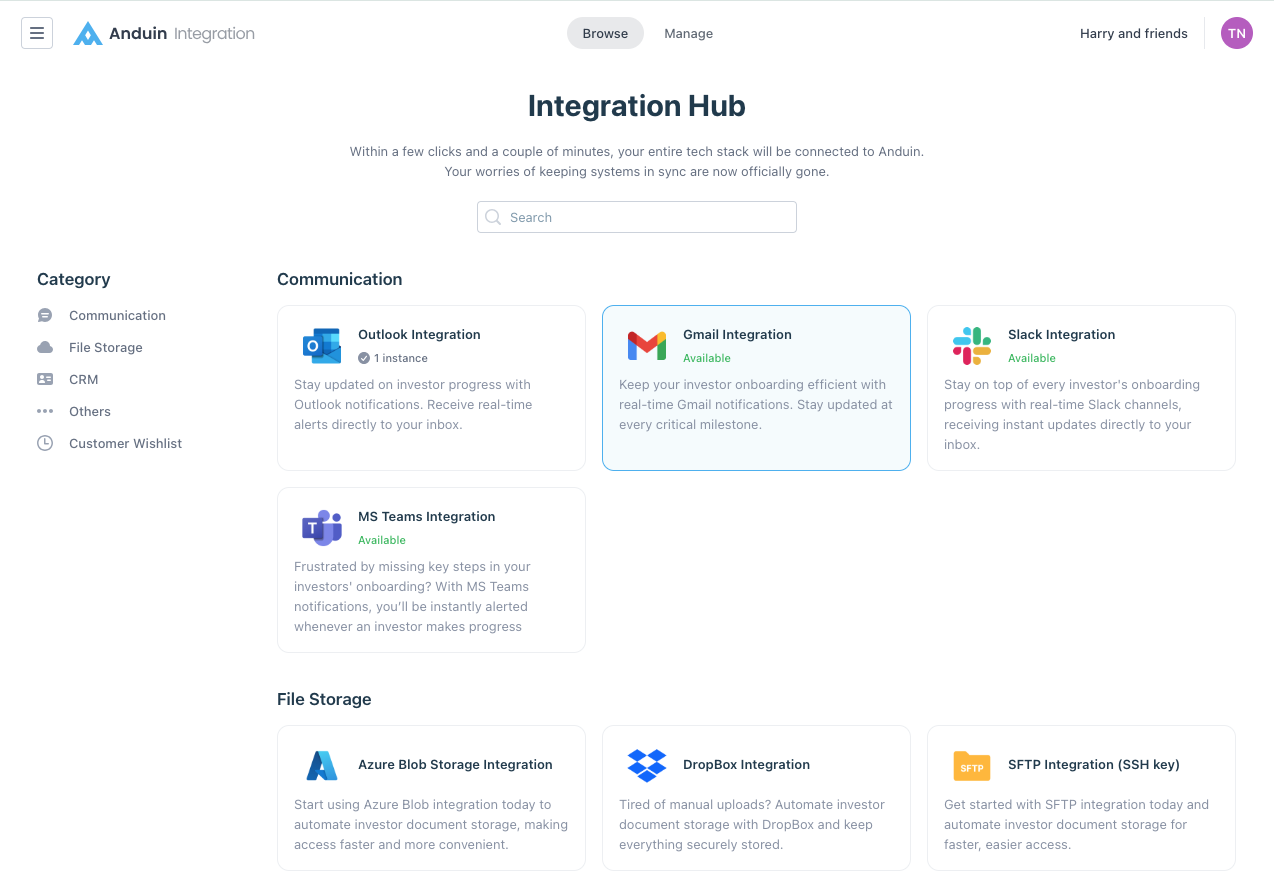
Step 1 - Select and install your integration
Navigate to our Browse tab and select your desired solution. Please choose Gmail Integration for this example
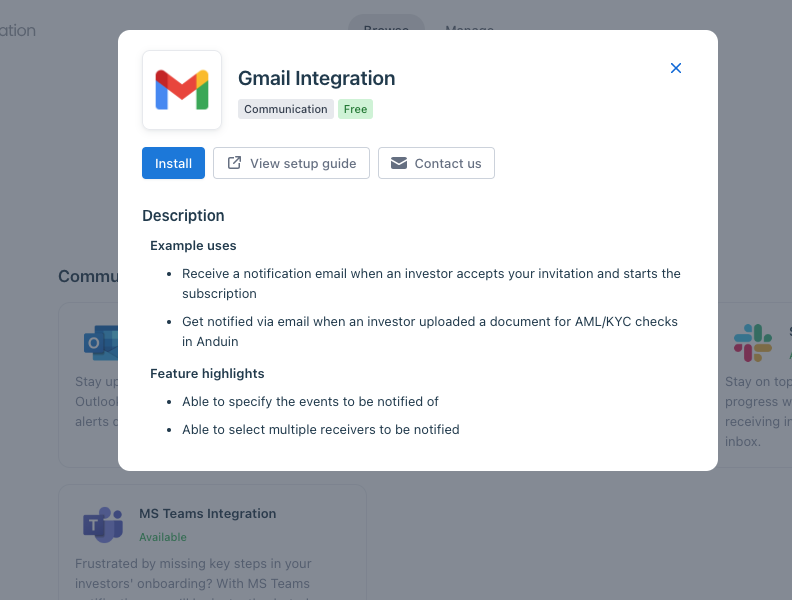
A modal will pop up, from here you can
- Hit Contact us and let us know if you need helps
- Hit View setup guide to see the detailed instruction of each integration
- Hit Install to start the setting
Here, name your integration in a self-explanatory and memorable way to simplify permission settings in later steps. Once done, hit Next

Step 2 - Grant permission
There are 2 possible scenarios at this step. You will encounter a list of Anduin objects (funds in this case).
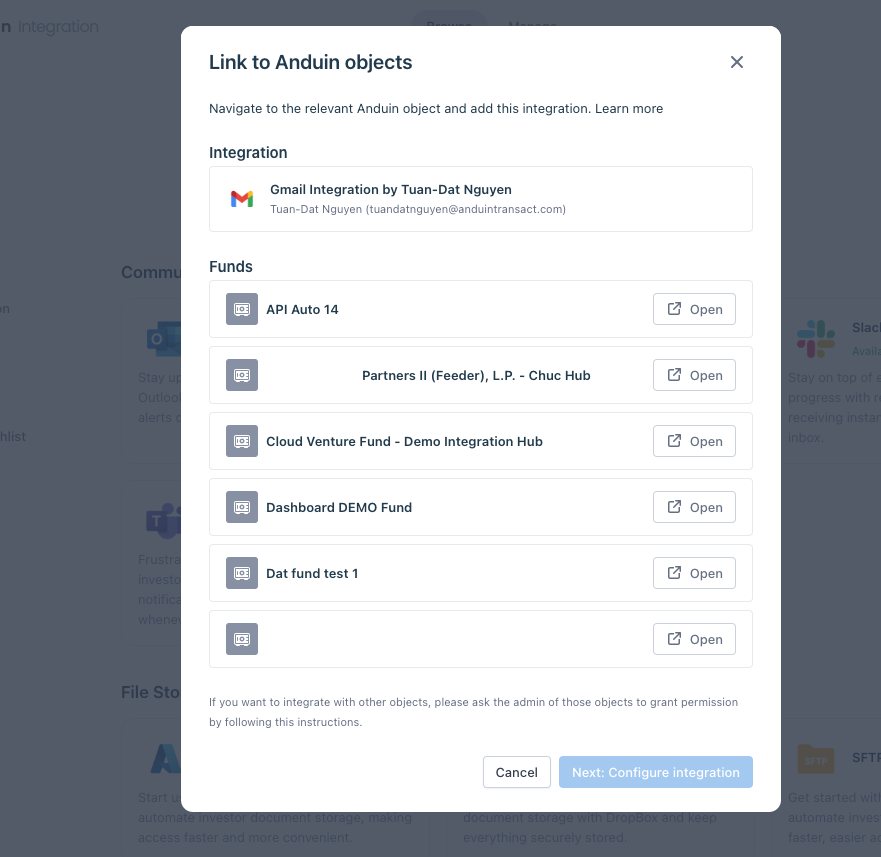
Scenario #1: the object you want to integrate with is listed in the view
- Click Open on the target object, it will open a new tab which is the permission setting in that object
- Find the integration you created in step 1, it is Gmail Integration by Tuan-Dat Nguyen in this case
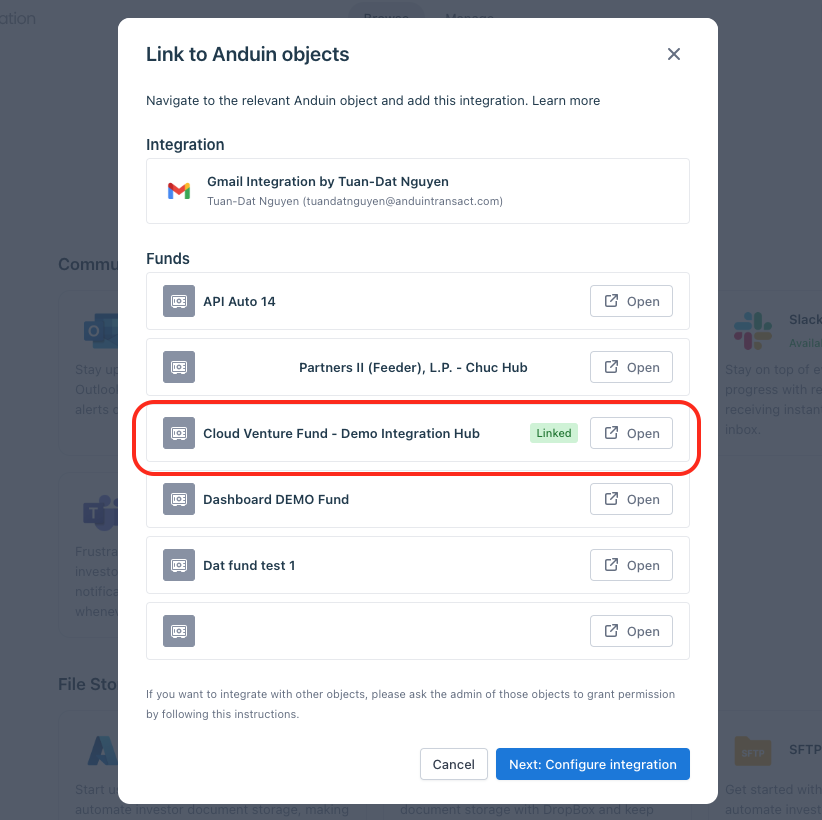
- Click Add, you can observe the integration is added to your fund
- Go back to the tab of the Integration Hub and observe the target object is linked. Hit Next and you will proceed to step 3 - configuration screens
Scenario #2: the object you want to integrate with is not listed in the view
- Provide the integration name to your team member who has the admin right of the target object
- Ask them to go to Settings > Integrations in that Fund
- Find the integration, add it and let you know
- You can then navigate to the Integration Hub, under Browse tab, click on the integration and observe the target object is linked. Hit Next and you will proceed to step 3 - configuration screens
Step 3 - Configuration screens
You will need to retrieve your Gmail credentials and enter here. Please see this guide regarding how this info can be extracted
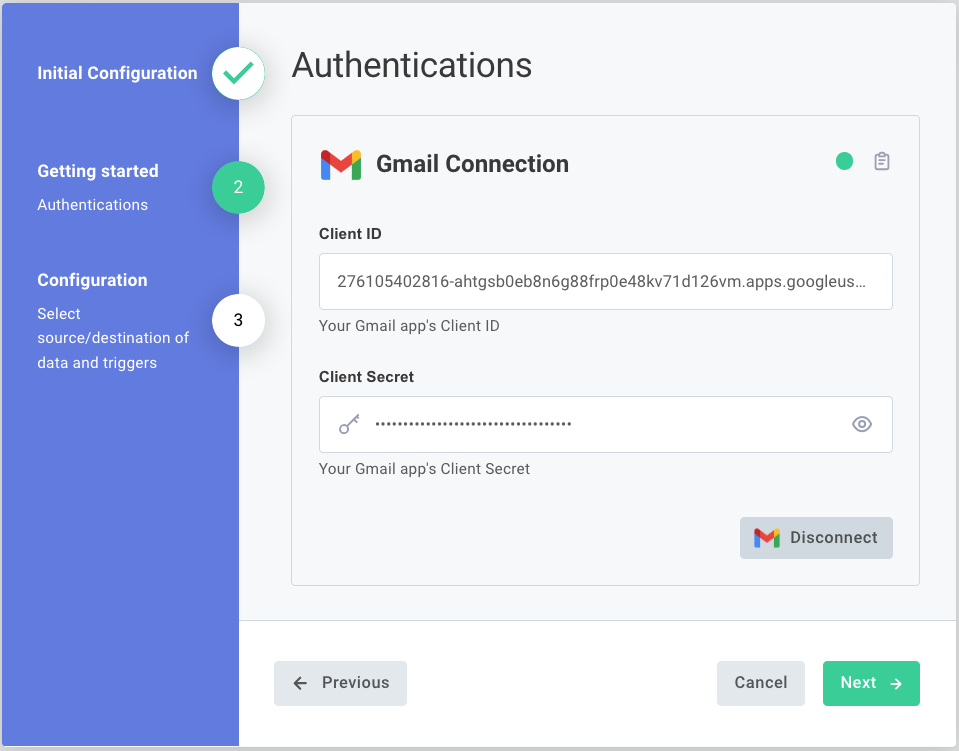
Hit Next and you will be able to configure and customize your solution further. Please see this guide regarding what you can configure on.
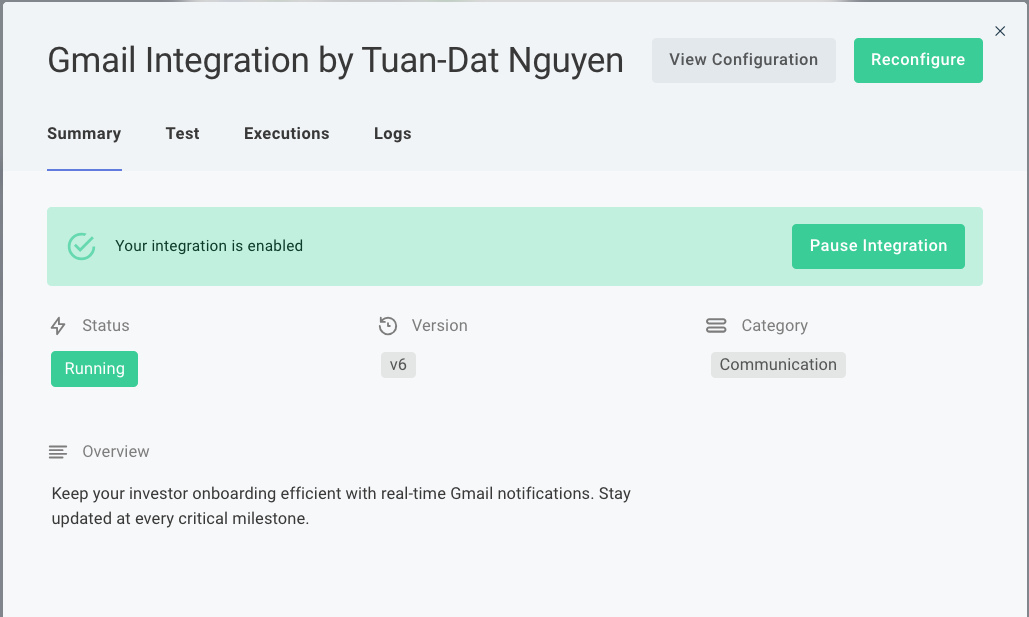
After running through all steps and finish, you will fall back to this screen with the status specifying your connection is up and running. Congrats! It's done. You are ready to go!!!
Step 4 - Running the integration
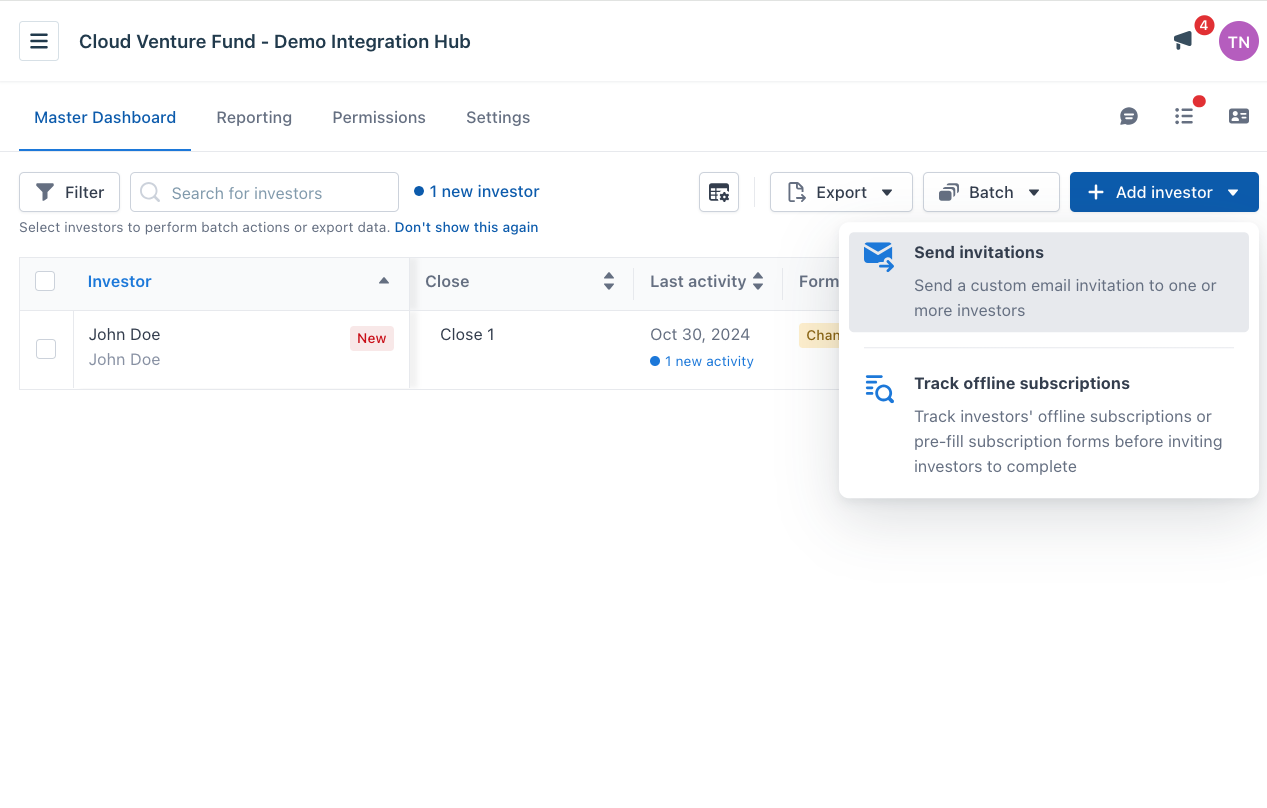
In the configuration step, I specify that I want to get notified of when a new investor is invited to Anduin FundSub. Let's invite a dummy investor to the platform and observe the result
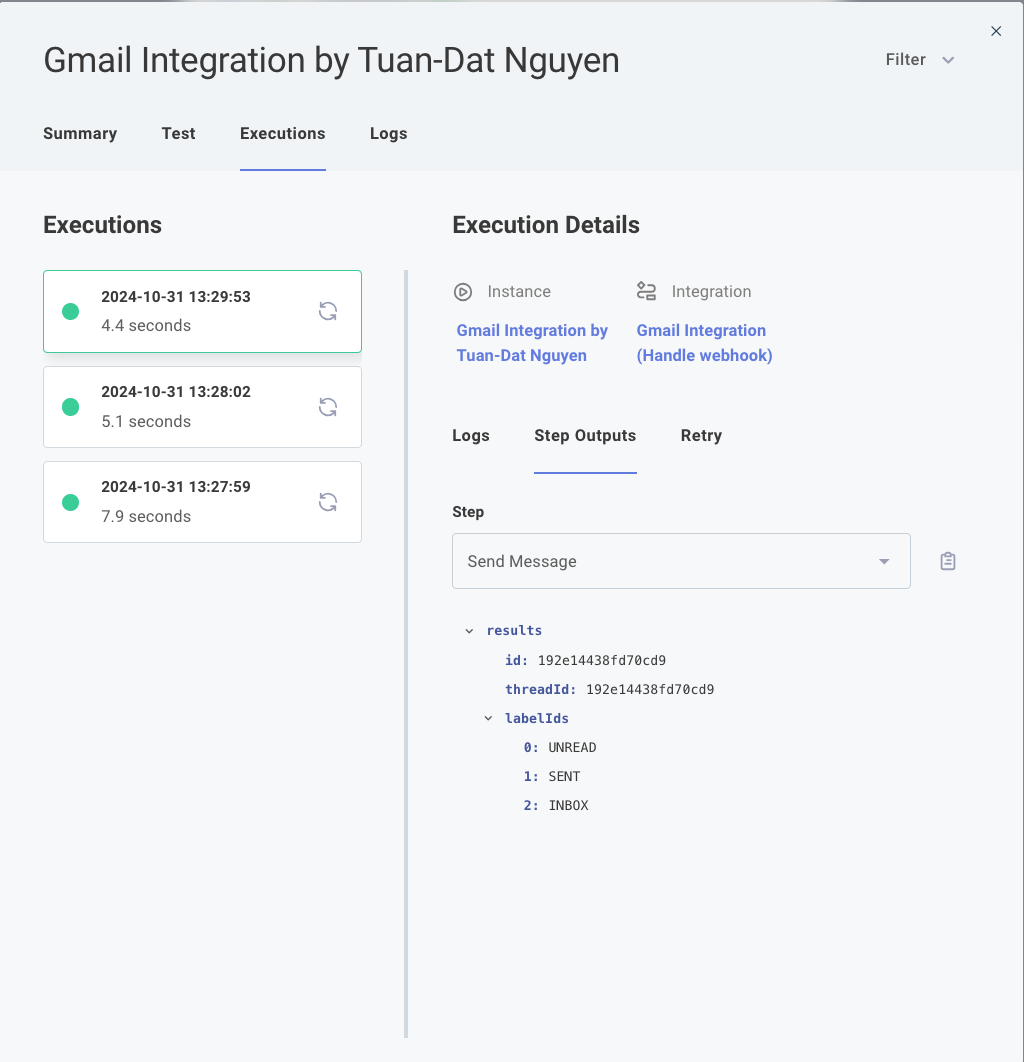
Going back to your monitor screen, you can see the instance is running successfully
Checking your email, you can see an email is sent to your mail box informing a new investor is created in Anduin
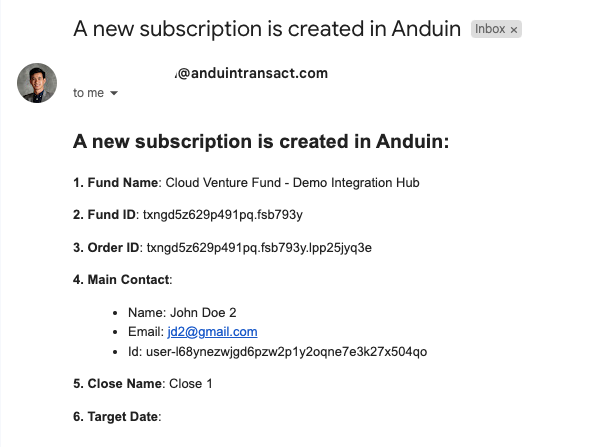
Simple as that and you will be able to listen to multiple events across all of your funds in Anduin, ensuring you will not miss any updates during investor's onboarding journey
Updated 10 months ago