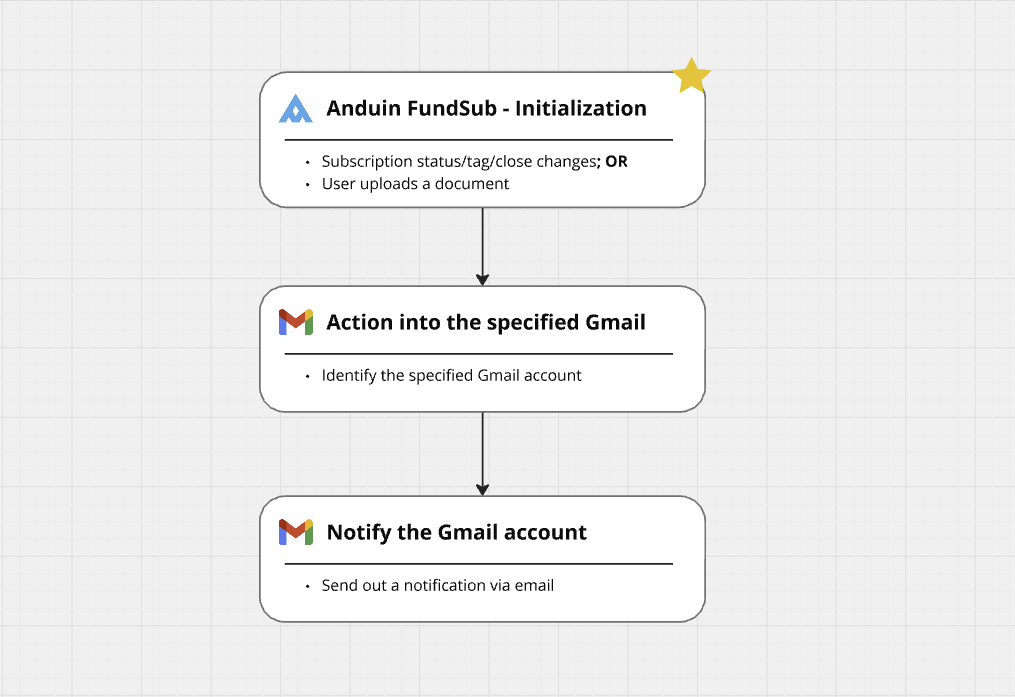
Gmail Integration

Integration Setup

Gmail OAuth 2.0

The Anduin Gmail Integration requires an OAuth 2.0 connection with the customer’s Gmail environment. This instruction details how to create and configure a Google Cloud Platform (GCP) OAuth 2.0 service.

To create a Gmail OAuth 2.0 app, first make sure you have a Google Developer account - you can sign up at https://console.cloud.google.com/. Then:

  • Open up the Gmail API console - https://console.cloud.google.com/marketplace/product/google/gmail.googleapis.com
  • You will be prompted to enable Gmail API for your project. Click ENABLE.
  • On the sidebar, select APIs & Services and then Credentials.
  • An OAuth 2.0 app includes a "Consent Screen" (the page that asks "Do you want to allow (Your Company) to access Gmail on your behalf?"). Click CONFIGURE CONSENT SCREEN.
    • Your app will be externally available to your customers, so choose a User Type of External.
    • Fill out the OAuth consent screen with an app name (your company or product's name), support email, app logo, domain, etc.
    • You can ignore domains for now.
    • On the next page, add any scopes releavant to your integration, like https://www.googleapis.com/auth/gmail.readonly and https://www.googleapis.com/auth/gmail.send.
    • Enter some test users for your testing purposes. Your app will only work for those testing users until it is "verified" by Google. When you are ready for verification (they verify your privacy policy statement, etc), click PUBLISH APP on the OAuth consent screen. That'll allow your customers to authorize your integration to access their Gmail account.
  • Once your "Consent Screen" is configured open the Credentials page from the sidebar again.
  • Click +CREATE CREDENTIALS and select OAuth Client ID.
  • Take note of the Client ID and Client Secret that are generated which will be used later in our configuration wizard